資料處理#
呈現360°攝影#
Pannellum為一個免費開源的Javascript libebry,專門用來顯示360照片。
以下是逐步處理步驟:
將360°與熱點照片上傳至imgur,並點選新分頁開啟圖片,將網址貼進剪貼簿
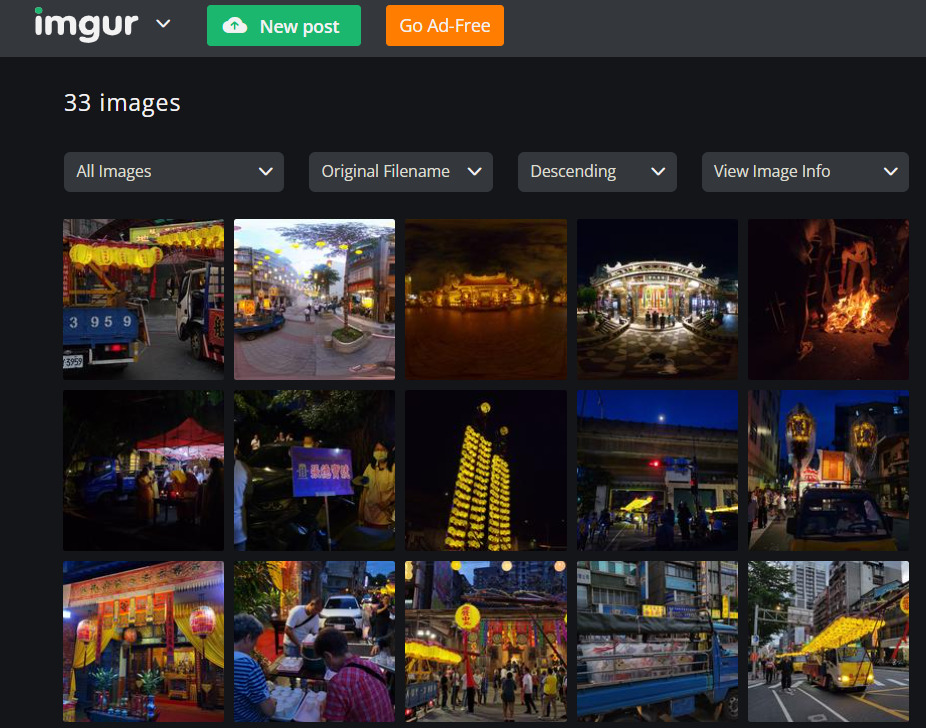
Fig. 11 imgur是一款相當方便的圖像儲存平台。#
匯入模組
IPython.display
Note
由於pannellum是基於javascript的程式庫,要放在jupyter notebook須以html顯示,我們可以從IPython.display模組加入display(函數)和HTML(用來顯示html檔)的功能。
◆ 加入html的文字宣告避免跑版
◆ 將html設定lang以顯示語言並指定繁體中文
from IPython.display import display, HTML
<!DOCTYPE html>
<html lang="zh-Hant">
從pannellum的documentation中嵌入指定元件的
CSS和API,並調整參數。在這個示範中我新增了擴增項、指北針與熱點
<head>
    <meta charset="UTF-8">
    <meta name="viewport" content="width=device-width, initial-scale=1.0">
    <title>Pannellum示範</title>
    <link rel="stylesheet" href="https://cdn.jsdelivr.net/npm/pannellum@2.5.6/build/pannellum.css">
</head>
<body>
    <div id="panorama" style="width: 100%; height: 580px;"></div>
    <script src="https://cdn.jsdelivr.net/npm/pannellum@2.5.6/build/pannellum.js"></script>
    <script>
        pannellum.viewer('panorama', {
            "default": {
                "firstScene": "scene1",  // 初始場景
                "autoLoad": true, //自動載入360°照片
                "author": "",  // 作者名稱
                "compass": true, //設定指北針
                "northOffset": -3.2, ``` //指北對位
                },
            "scenes": {
                "scene1": {
                    "type": "equirectangular",
                    "panorama": "https://i.imgur.com/MC3WXDw.jpeg",
                    "title": "",初始場景名稱
                    "pitch": 0,
                    "yaw": 0,
                    "hotSpots": [
                        {
                            "pitch": 1, //垂直角度
                            "yaw": 0, //水平角度
                            "type": "info",
                            "text": `
                                <div style="text-align: center;">
                                    <img src="這裡放熱點圖片網址" style="width: 200px; height: auto;"/><br/> //設定圖片大小
                                    <strong>這裡放熱點名稱</strong><br/>
                                    這排放文字敘述。
                                </div>
                            `
                        }
數化路徑gpx和geotagged照片#
以手機app
Gaia GPS紀錄路徑並匯出成geojson檔
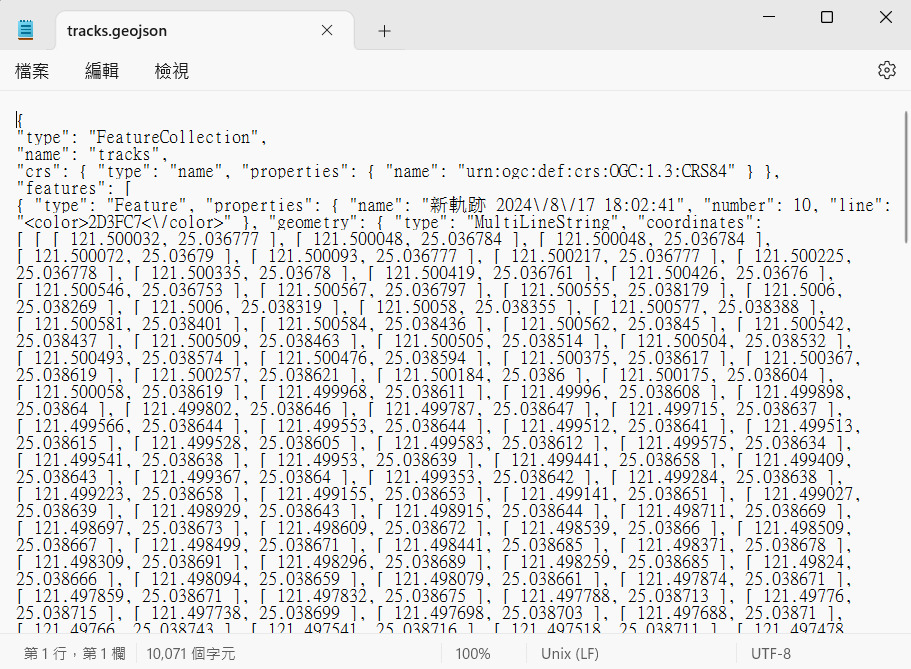
Fig. 12 含有坐標時間與高程資訊的geojson檔。#
將含有坐標點位的照片匯入
QGIS,並使用pluginsimport_photo匯出成geojson檔
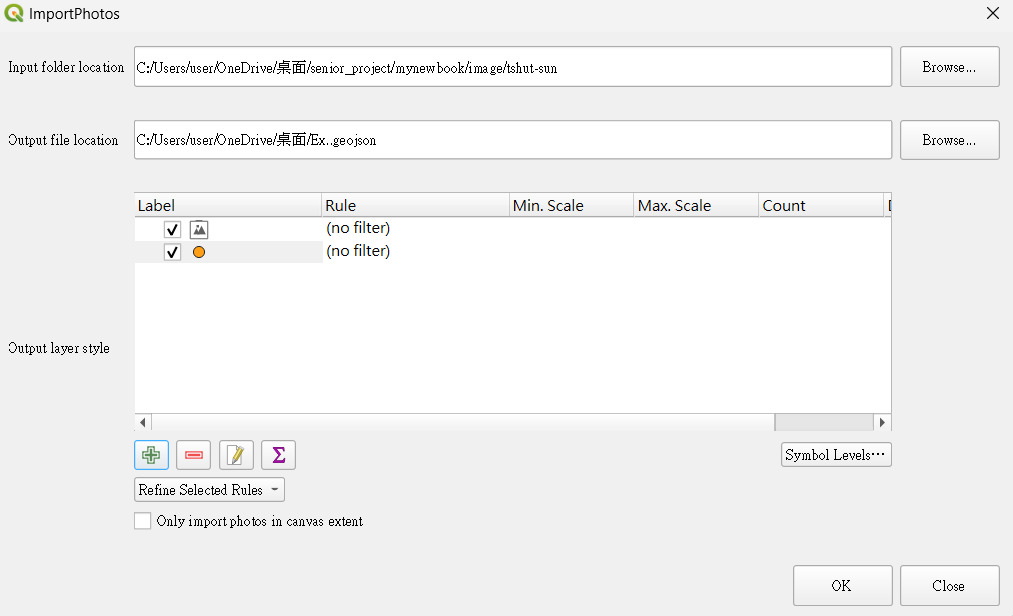
Fig. 13 import_photo介面#
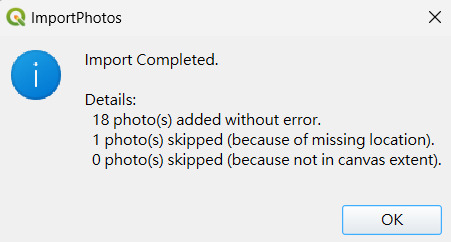
Fig. 14 結果顯示有張照片的點位遺失了,沒關係可以後續再編輯gepjson檔進行手工處理#
編輯剛剛匯出的照片點位GeoJSON檔
打開照片點位的GeoJSON,找出前面點位遺失的照片手動增加經緯度,並在每項點位各增加兩項properties:photo_url和description,以利後續在folium中顯示。
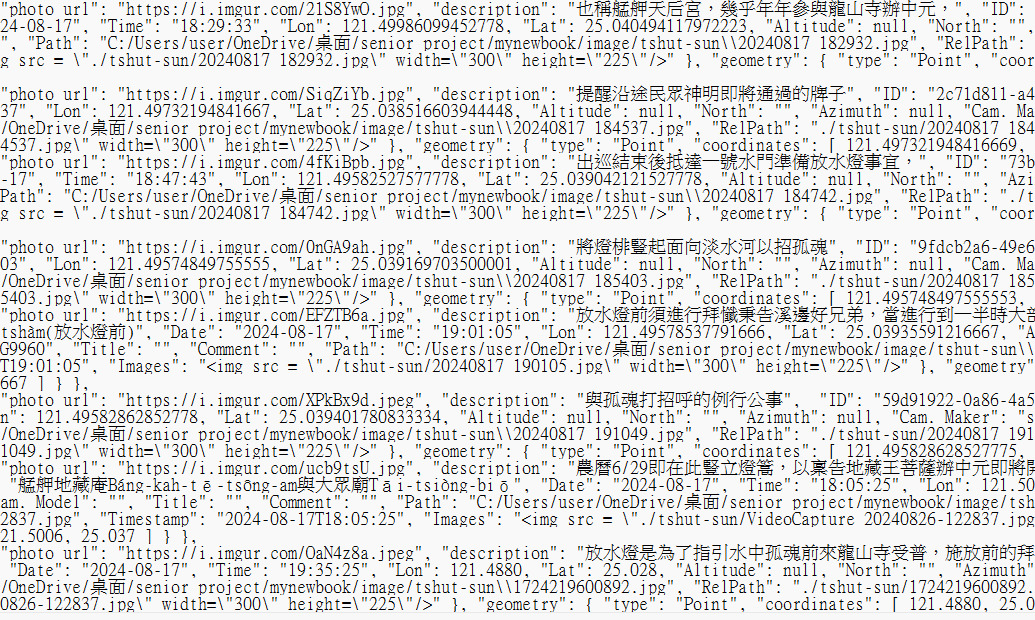
Fig. 15 編輯點位屬性,填入圖片網址、名稱與描述#
呈現路徑與照片點位疊圖#
匯入
folium和json,folium是一款專門用來呈現各式地理資訊的python插件,其中內建的popup參數可以用來顯示屬性(點位照片、名稱與描述)
import folium
import json
設定地圖、中心位置和尺度,然後用
OpenStreetMap作為底圖
m = folium.Map(location=[25.0385, 121.4993], zoom_start=16, tiles='OpenStreetMap')
匯入路徑的GeoJSON檔並指定編碼為 utf-8,並加入地圖
geojson_file_path = '你的路徑檔名'
with open(geojson_file_path, encoding='utf-8') as f:
    geojson_data = json.load(f)
folium.GeoJson(geojson_data, name="出巡路徑").add_to(m
匯入Geotagged照片點位,新增屬性並加入地圖
points_geojson_file = 'point.geojson'
with open(points_geojson_file, encoding='utf-8') as f:
    points_geojson_data = json.load(f)
for feature in points_geojson_data['features']:
    properties = feature['properties']
    coordinates = feature['geometry']['coordinates']
    photo_url = properties.get('photo_url', '')
    name = properties.get('Name', '')
    description = properties.get('description', '')
建立
Popup參數來顯示前面設定好的圖片連結、名稱和描述
   popup_content = f"""
    <b>{name}</b><br>
    <img src="{photo_url}" width="auto" height="300"><br>
    {description}
    """

    folium.Marker(
        location=[coordinates[1], coordinates[0]],  //GeoJSON 的坐標順序是 [lon, lat]
        popup=folium.Popup(popup_content, max_width=400) //調整圖框大小
    ).add_to(m)
m
